This is the anniversary card that I created for my hubby to celebrate our 35th wedding anniversary. It's hard to believe that it has been that many years! We are so blessed to have each other, our 5 wonderful children, 2 amazing sons-in-law, and a darling grandson. Whenever times are rough, I just thank our dear Lord for the blessings of family to sustain us through it all. ♥
 I call this my embossed embossing card. When I did the embossing folder in my big shot, I first very carefully inked up the raised image side with versamark ink. Then I poured the embossing powder on the image after running it through. After heat embossing it, if it needed more, I used my versamarker to fill in any areas and put more powder on. Then I colored inside the embossing with Stampin' Write markers. I love the effect. It can be a little challenging to just get the powder to stay in the recessed edges, but if needed, you can use a small paintbrush to brush off the powder before heat embossing.
 This was my project for last evening's demonstrator stamp 'n chat. It holds a mini kleenex tissue package. The dimensions of the card stock are 7 1/8 x 8 1/2 inches. Score the short sides at 1 1/4 inches on each side, and on the long sides at 1 1/4 and 3 5/8 inches on both sides. I used the modern label punch to make the slot for the tissue to come out. If you need the exact directions on how to make the tissue box, just email me or respond here with your email, and I will send you a template with directions.
 I was just playing around with the level 2 hostess set, Apple Blossoms, the other day, and this was one of my creations.
 A fun little pencil pouch Halloween gift.
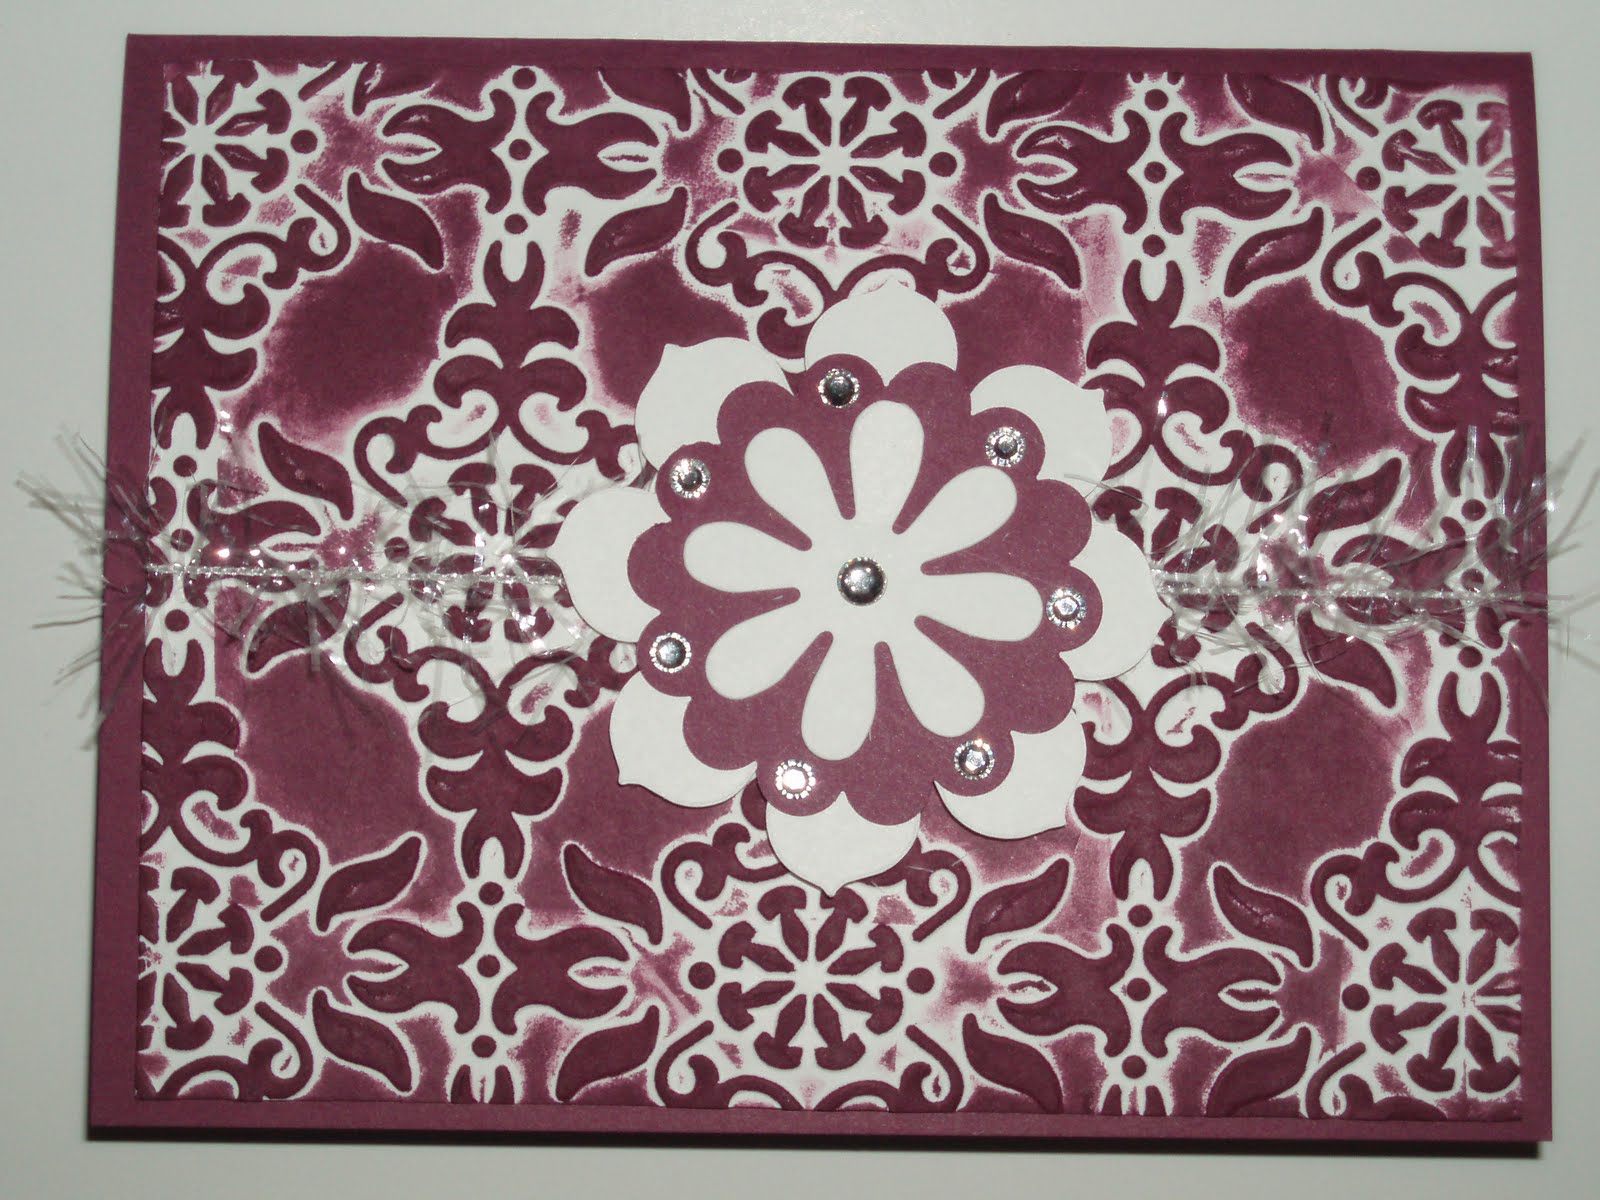
 This technique is a little challenging to describe, but essentially, after I embossed the cardstock, I lightly used the stamp pad direct to paper method to color the raised areas of the embossing. Then I watercolored inside the images.
 This card looks so much prettier in person because you can see the sparkly rhinestones and tinsel. The contrast of the ink that has been brayered onto the card after embossing gives it such a rich look.